You don’t need to pay for ChatGPT anymore.
I will show you how to install Deepseek R1 on your own computer and use it for free and unlimited.
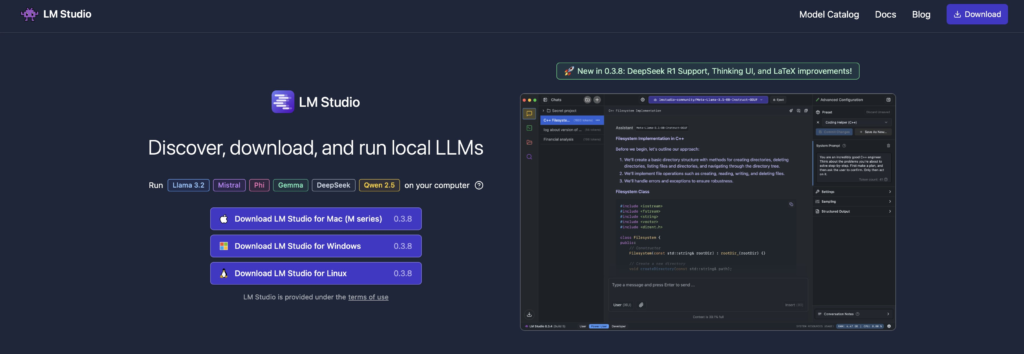
First, we go to http://lmstudio.ai. This is an application that allows us to run open source artificial intelligence tools on our own computer.
And it’s completely free.
Select Windows if your device is Windows or Mac if your device is Mac and download LM Stuido from the link I provided above.
Since completing the installation is a classic process, I don’t show it, let’s move on to which model and how to run it.
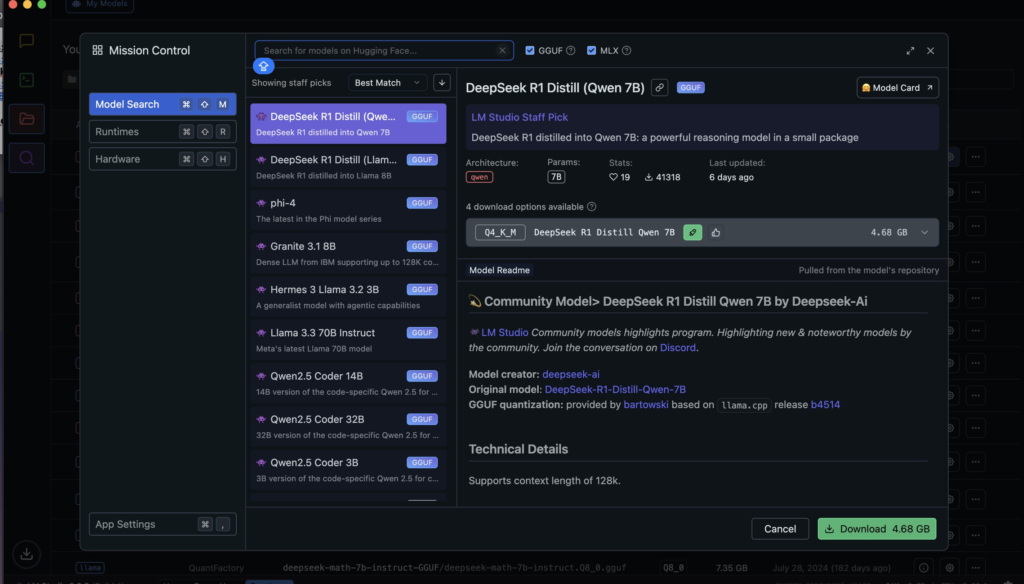
After opening the application, select “Discover” from the left menu. All open source artificial intelligence models are listed here.
If you don’t know which model will work on your computer, here is the calculation:
(Model SizeQuant Size/8)1.2 = the VRAM you need.
I will explain the details.
Let’s say your computer has 8GB of VRAM, the calculation above means that you can run a Q4 model with a size of 8B.
(84/8)1.2 =4.8 GB VRAM
If we understand that, let’s continue with how to make it work.
When it comes to Discover, my recommendation is to use DeepSeek-R1-Distill-Llama-8B-GGUF if your VRAM is 8GB or less.
If you have more than 24GB of VRAM, I recommend DeepSeek-R1-Distill-Qwen-32B-GGUF, which I also use.
Download the one that suits you.

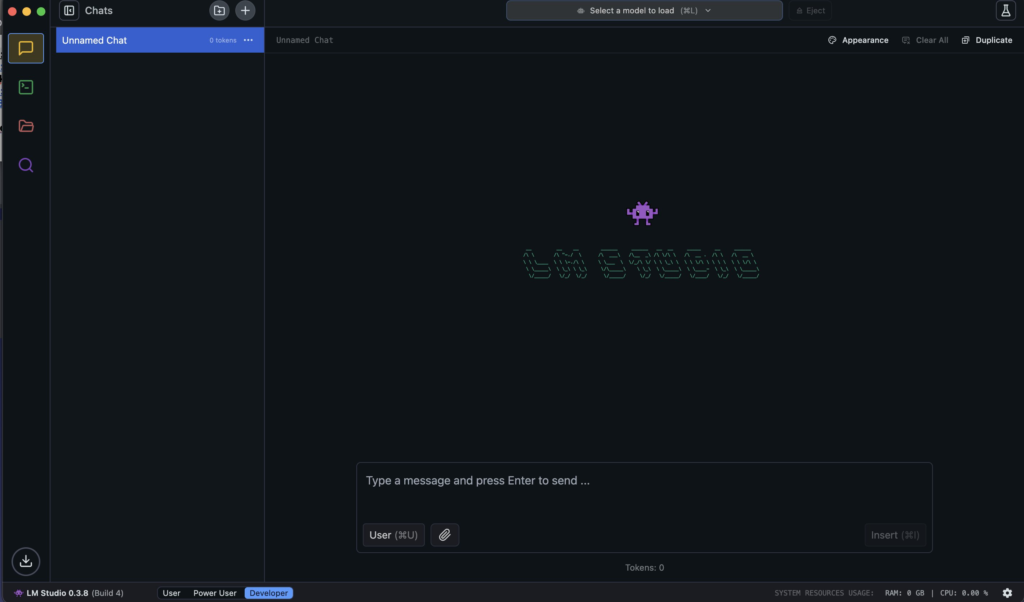
After downloading our model, we come to the chat tab on the left and click on the “Select a model to load” tab you will see above.
We can run the models we downloaded from this tab on our computer. Just click on it, LM Studio will run the model and activate the chat.
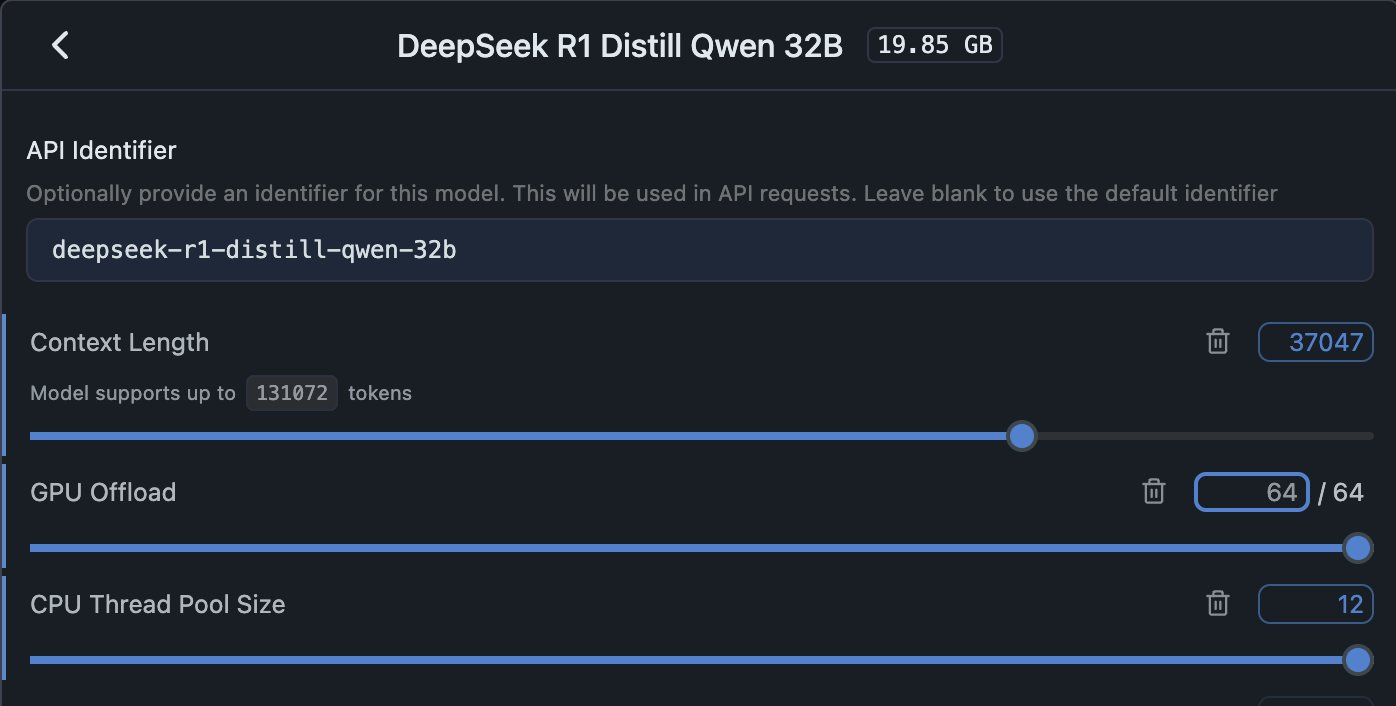
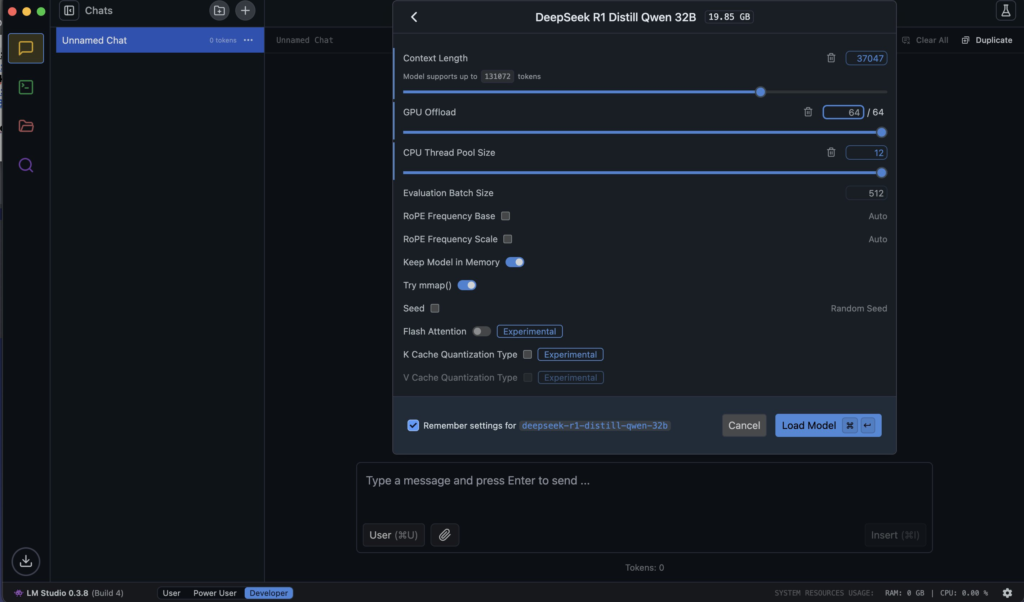
Let me explain these settings.
Context length indicates how long the LLM will support input/output, if you increase it, it will still work according to the performance of your device.
I use the GPU offload and CPU Thread Pool Size fields at max.
You can keep the settings at the bottom the same as me.
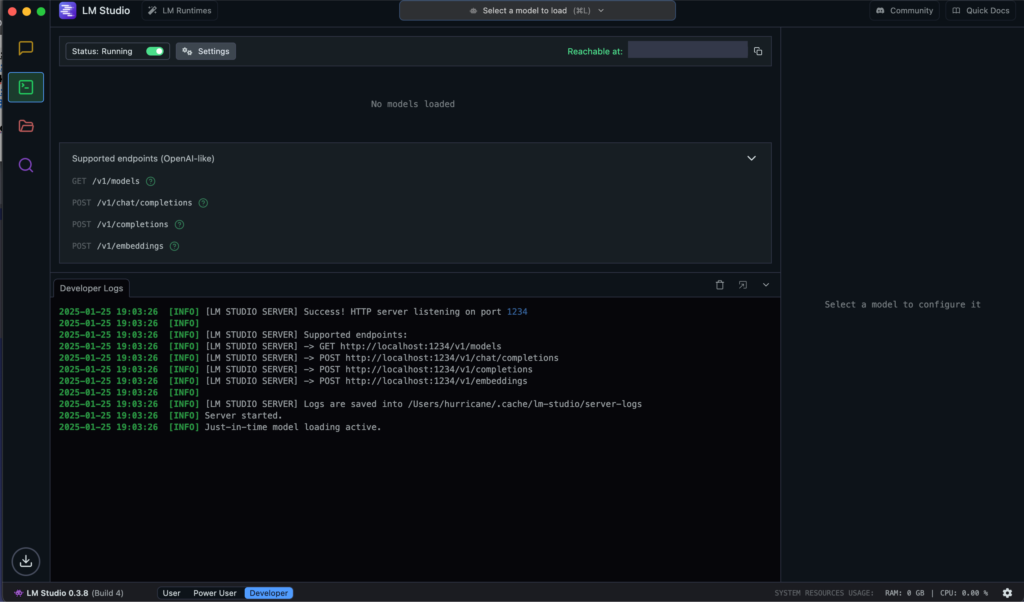
Now let’s come to the part for developers. You can start a server with the models you install. Since it is built in accordance with the OpenAI API documentation, you connect it to your own script like you connect the classic OpenAI API.
Click start server from above, then you can quickly start using it by looking at the short documentation showing how to connect it in the quick logs section on the right.